


|
DIY
Shop Now
|


Published: 18/08/2015
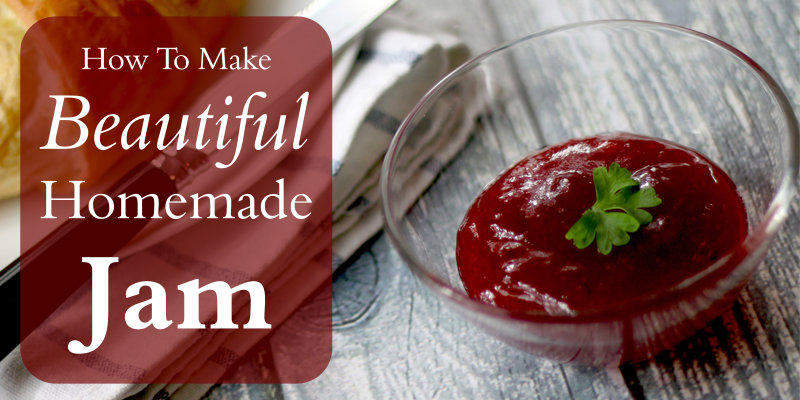
How To Make Tasty Fruit Jam At Home
Jam is a staple of any kitchen cupboard or pantry. The great thing is that with so many different variations available, there's a fruit jam to suit anyone's tastebuds.
And what could be more fun than making your own? It's actually not as hard as you might think!
Here's our guide to making jam from the comfort of your own kitchen.
What equipment will you need?
There are a few essential items you'll need when you're making your jam. Here's a list of equipment to gather:
- Large saucepan. If you are making a large quantity, or want to make jam regularly, a Maslin pan is a good investment.
- Jam funnel.
- Jam strainer (optional – if you want seedless jam).
- Jam jars.
- Wax discs and jam jar covers.
- A ladle for bottling the set jam.
- Labels and fabric lid covers to decorate your jar.
- A small plate or saucer.
What ingredients do you need?
One of the great things about making jam is that it requires very little grocery shopping. All you need is:
- Fruit of your choice
- Sugar (equal weight to the fruit)
- Juice of one lemon (for low pectin fruits)
What is pectin and why is it important?
Pectin is a natural substance in fruit that acts as a setting agent when the fruit is cooked. That's great when you're making fruit jam.
But unfortunately, some fruits have lower pectin levels than others, so become harder to set when you're using them for jam. For fruits that are low in pectin, you can actually buy jam sugar – which contains pectin – to help it set. However, the juice of a lemon works just as well.
Here are a selection of some high and low pectin fruits which are popular for making jam.
High pectin fruits:
- Blackcurrants
- Raspberries
- Damsons
- Gooseberries
- Cooking apples
- Plums
Low pectin fruits:
- Strawberries
- Blackberries
- Cherries
- Rhubarb
- Pears
Of course, strawberry is probably the most popular jam, so don't be put off from trying it because of its low pectin levels. Just remember to use lemon juice or jam sugar, and it should turn out fine!
Before you get started...
Once you've chosen your fruit, gathered the other ingredients and got your jamming equipment ready, it's almost time to start.
But first, you need to make sure that your jam jars are sterile. To do this, simply wash them in hot soapy water, rinse off any suds, and then dry with a clean towel.
Next, place the jars and lids on a baking tray and place in the oven at 120C to dry completely – they can stay in the oven until you're ready to use them. If you are using Kilner jars, the rubber seals should be boiled in water rather than dried in the oven, as they can be damaged by dry heat.
Another thing to remember before you start cooking is to place a small plate or saucer in the freezer. This will be used later for testing the jam to see if it has set.
How to make jam: Method
- Wash the fruit, and remove any large seeds and pips. Larger fruits should be chopped into smaller chunks, though this is down to preference – some people prefer chunky jam while others like it to be smoother.
- Add the fruit and sugar (and lemon juice if required) to the pan and bring to the boil. If you're using a fruit with a hard skin, simmer it for a few minutes first before adding the sugar – this will prevent the skin from hardening further. Alternatively, you can microwave it for a couple of minutes first to soften up (this is a useful method for softening apples).
- Gently stir and slightly mash the fruit to release some of the juice.
- [Optional]. After 5 minutes, pour the mixture into a straining bag and let the juice drip through into a bowl (this can take an hour or more depending on how much you have).
- Return the strained fruit and juice to the pan and boil for 10-15 minutes, and then test for a set.
- Take the small plate from the freezer and put a blob of jam on it. Let it cool for a moment and then push with your finger. If it is firm and resists the force of finger, it's ready. If it runs and separates when your finger touches it, return to the pan and boil for a while longer.
- Once the jam is set, turn off heat and remove your jars from the oven. Skim off and discard any scum that has risen to the surface of the jam.
- Use the jam funnel to carefully fill the jars, leaving a minimum of 1cm free at top. Use a funnel with a mesh strainer to remove additional pips and seeds. Be careful with the jars – they'll be hot. Use a pair of jam jar tongs to avoid touching with your hands.
- Add a wax disc to the top of the jam and then place the lid on the jar. Add a label with the date of your creation. You can also decorate your jars with colourful lids, labels and fabric jar covers.
- Store in a cool, dry place until you're ready to eat – see our tips below!
How to enjoy your tasty jam
Now you've made your own tasty jam, what can you eat it with?
There's nothing quite like some lovely jam on hot toast with butter. And you can transform your boring breakfast by adding a dollop to your porridge.
It's not just a great breakfast accompaniment though. How about baking some nice home made bread and enjoying jam sandwiches? Or perhaps you can make some jam tarts. You might even want to serve afternoon tea to some friends, complete with scones smothered in clotted cream and jam.
If you're feeling really adventurous, why not continue in the kitchen and make a yummy home made jam roly poly?
Which fruit will you be using to make your first batch of jam?


