


|
DIY
Shop Now
|


Published: 02/07/2015
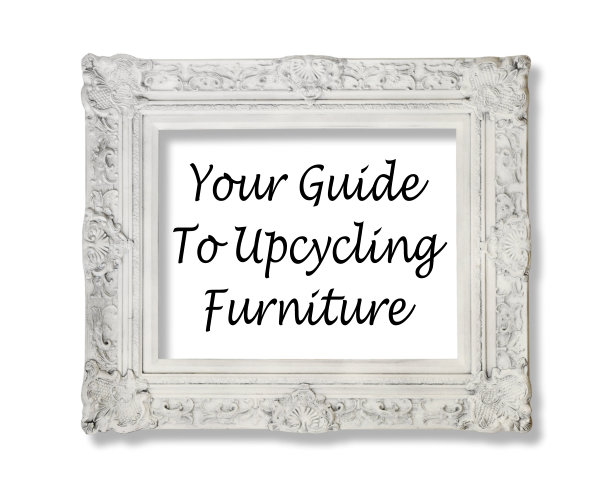
Your Guide To Up-cycling Furniture: 16 Top Tips!
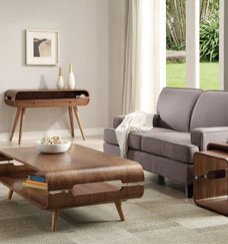
The idea of re-decorating can often feel daunting. In your mind, it's going to take weeks to complete and at a hefty price too. However, instead of overhauling the entire room there is a simple way to get a new look in your home: Up-cycling.
Up-cycling seems to be all the rage at the moment. All it takes is a quick search on Google and you've found thousands of photos of shabby chic projects and renovated furniture. However, everyone seems to have their own ways of telling you actually HOW to achieve the look, WHAT can be up-cycled and WHY they chose to develop that piece the way they have.
We've decided to simplify it, so that no matter what ideas you have in your mind, you can achieve your furniture goal. Let's face facts: It's the cheapest way of redecorating. Whether you already have a piece of furniture that has seen better days or you find a bargain at a boot sale, almost anything can be up-cycled in just a few easy steps.
Here we have 16 easy tips for revamping your rooms:
1) Car boot sales and charity shops are your best friend
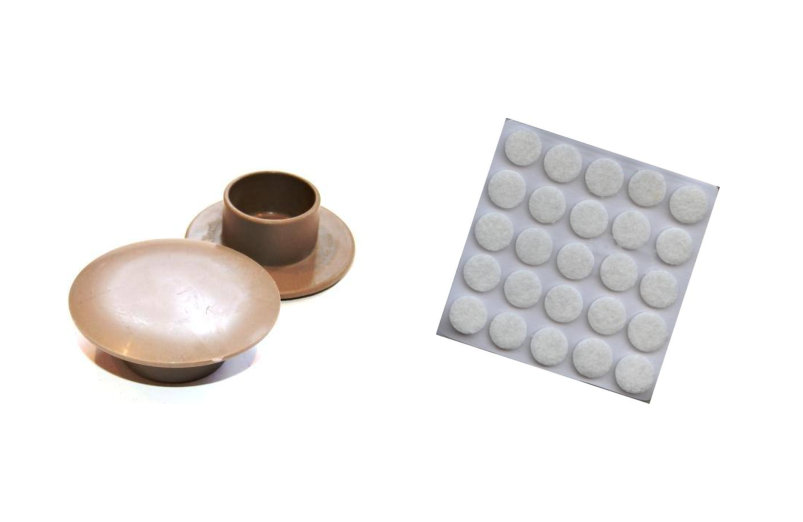
Always take time to shop around as you never know what you're going to find in the next shop. You can pick up great value second-hand furniture at unbelievably good prices, purely because it has a scratch on it that you're wanting to cover up anyway. Also join selling groups in your local area on Facebook, as people often give away unwanted items and sell pieces off for next to nothing, just to get it out of the way. Remember that most cheap pieces of furniture will have rough edges, so use castor cups or pads on the bottom of the legs so that your floors do not get damaged.
2) Have something in mind
Scour the internet for ideas before going out and buying a piece of furniture to renovate. Although the outside will change, the shape and style of the furniture will still be the same and you need to ensure that it is something you like.
3) Look for details
With a lick of paint, you can make those door handles, hinges or locks completely stand out to create a unique piece of furniture. Look for detailed woodwork, unique turned legs and scrolled backs for vintage looking pieces. If you find something with individuality, it will look great next to mismatched furniture.
4) Visualise what it could become
It's often hard to get excited about something that is scratched, battered and that you feel a bit embarrassed about buying. But if you have a vision in your mind, you can make it happen!
5) Prep your piece
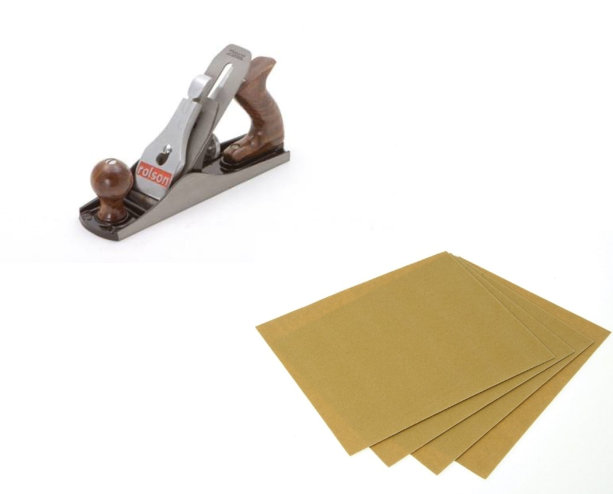
Even if wooden furniture is on it's last legs, it still needs prepping as it will have remnants of paint or varnish that can change the finish of the product when you have overhauled it. You don't have to use an electric sander to strip it down to bare wood, but a plane or some sanding sheets will do a good job of creating a surface that paint can easily adhere to.
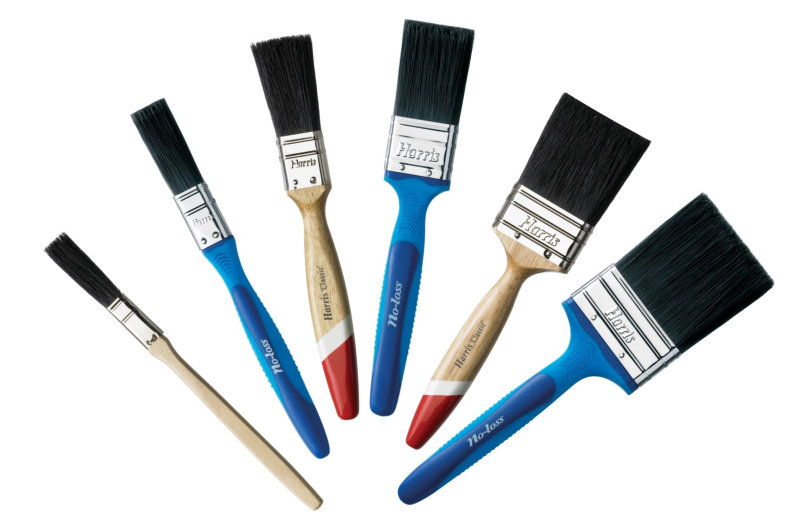
6) Apply paint and primer in thin coats
Don't just slap it on and hope for the best, as it will not give you the effect that you're hoping for and it will take a LOT longer to dry. Let each coat dry properly before applying the next and use a good paintbrush to create a smoother finish. Paint straight from the can and cap it in between dipping your brush. If you're looking for something that doesn't need priming, go for chalk paint instead of furniture paint.
7) Don't panic!
After the first coat, it may look streaky and awful, but remember that a second coat can change everything! Using chalk paint creates shabby chic looking furniture as the paint is thicker and gives a great finish. They're also a lot easier to use than standard furniture paint.
8) Take a break
If you're painting something large, you'll get frustrated waiting for it to dry and if something goes the way you didn't plan, you can feel like just giving up on your project. Take regular breaks to clear your head and keep your concentration levels high! Pop your brush in a resealable plastic bag and keep it in the fridge if you're taking a longer break as this will stop the wet paintbrush from drying out and going hard.
9) Apply a wax to seal the paint
It sounds like the hardest step but it's actually the easiest. The wax seals and protects your piece so that the paintwork lasts longer and your furniture looks better. If it's a table or a dresser that you'll constantly be placing things on and sitting at to use, it's even more important to make it more hard-wearing.
10) Distress your piece
Make your handiwork look vintage by distressing it. It's recommended to distress furniture after applying clear wax. You can again use sandpaper or a sanding block to rub across the sections that would naturally become distressed, such as the corners, edges or knobs. Dust off the sanding with a brush or damp cloth before applying dark wax to the distressed places.
11) Experiment with colour
Furniture certainly does not have to be brown. White dressers are immensely popular, as are splashes of coloured furniture in a more neutral room. They can be quite expensive though, so up-cycling an old piece using a white or coloured paint will save you a fortune. Canvases are also a brilliant way to tie colours together and brighten another corner.
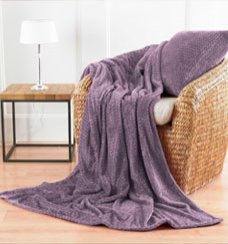
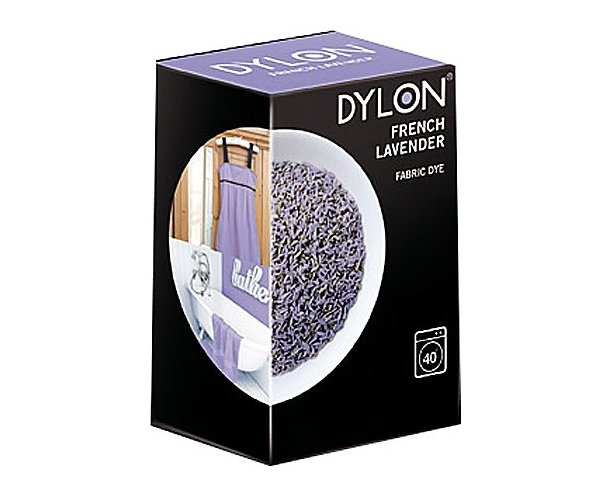
12) Match your soft furnishings
If you've gone for a coloured piece of furniture in your living room or bedroom, use the same colour in your soft furnishings. All you need is a couple of cushions to tie everything together. At Barnitts, we have a huge range or cushions in different colours, textures or fabrics. Or you could add another skill you your up-cycling CV and dye your own cushions using Dylon.
There are two types of Dylon dyes, one that can be used by hand and another than can be used in the washing machine. There is a huge spectrum of colour possibilities, so you will always find something that will match or compliment your furniture.
13) Use stencils or paint effects
Stencils are a great way of personalising your item after you've painted it up, or if you don't feel like painting an entire piece of furniture is your forte. They can add a creative touch to a piece by adding another dimension to your painted surface, and allow you to add a painted effect without painting the whole thing. You can find a stencil that you love or create one yourself using card and scissors. If you want a smaller stencil, try using things in a different way to what they were intended for, such as these Shake Stencils, which are used for creating decorative patterns on hot drinks and desserts. You could also use sheets of wrapping paper (probably not children's Christmas wrapping paper though!) to create a unique top. All you need is adhesive and wax.

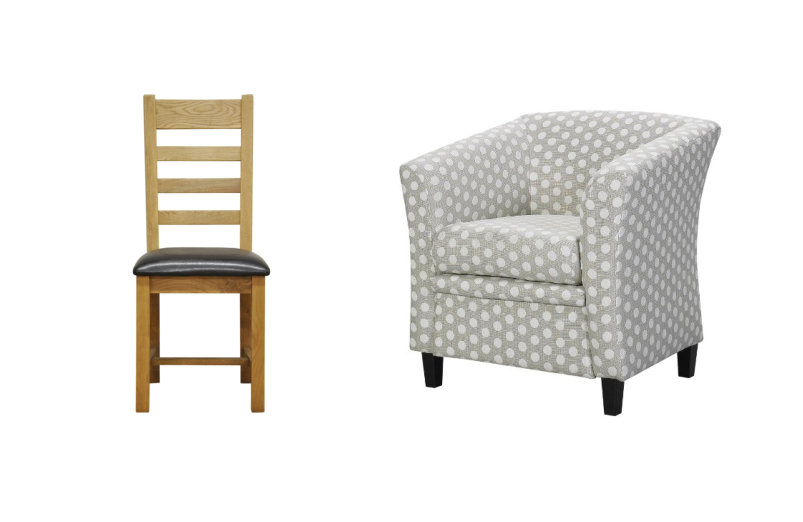
14) Re-upholster
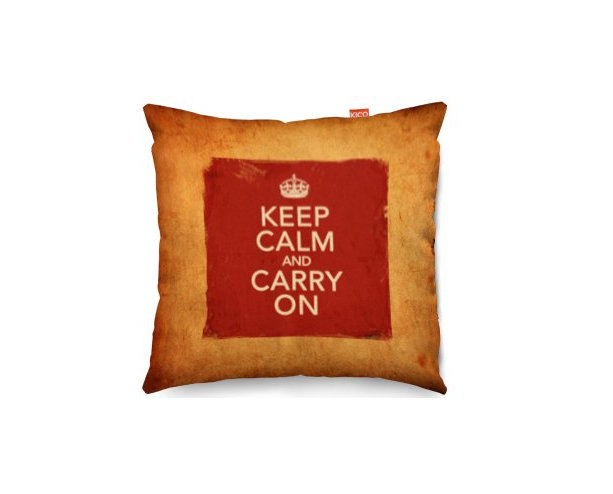
If you find a chair that you love, but the fabric isn't to your taste or it doesn't go with the look you desire, simply remove the old fabric and re-upholster with fresh fabric to match. You can buy some, or make your own using dyes and fabric paints. If you decide that you've already done enough up-cycling for one day, you can buy a colourful or plain chair such as this York Chair or Newbury Oak Ladder Back Chair, which would look great with a cute cushion such as this Kico Keep Calm cushion to carry on with a vintage theme.
15) Make your own shelves
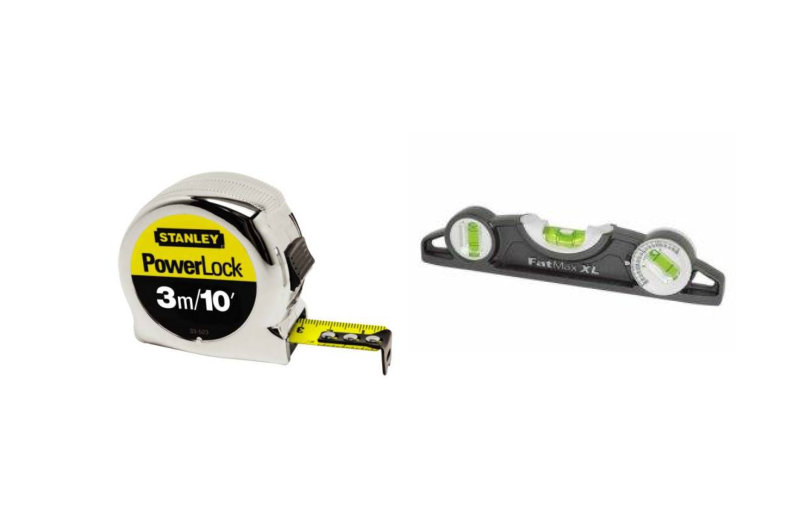
You can make a vintage shabby chic shelf from almost anything, and it will look great above your up-cycled dressing table, chest of drawers or chair. Try tracking down an old tray with high sides to stick on the wall to hold decorative trinkets and ornaments. Other items can also be used for shelving such as wooden ladders and even books laid down on a bracket. Whatever you choose, it needs to be straight, otherwise not only will it look bizarre but everything will slide off it. Use a tape measure and torpedo level to get it right.
16) Choose your accessories
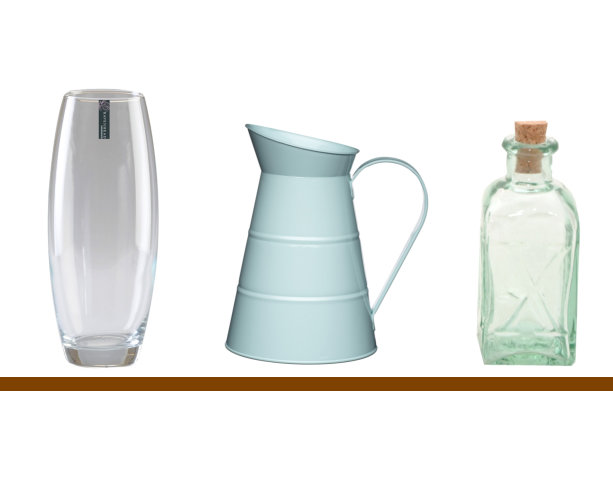
Use decorative pieces to really perfect the shabby chic look. Water jugs make great vases, vases make great storage and glass bottles look great with a single stemmed flower.
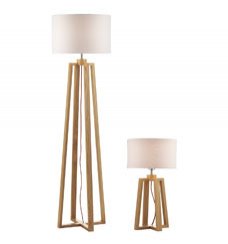
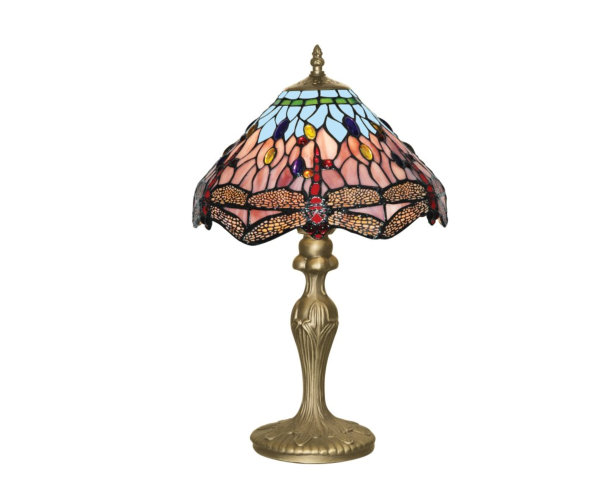
Choose a vintage looking lamp to brighten up a corner and let your creativity take over with small pieces to build up a big picture.
Do you have any other tips for people new to up-cycling or is there anything you wish you'd known before starting a project?
Let us know in the comments below!
And if all else fails... just buy something ready made.


